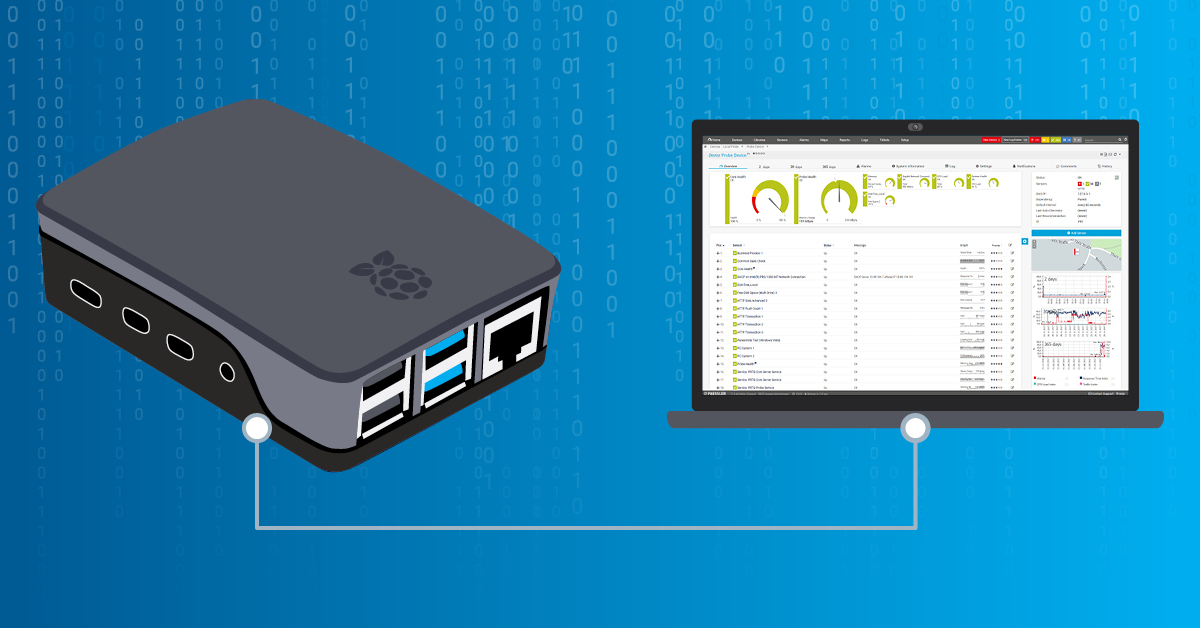
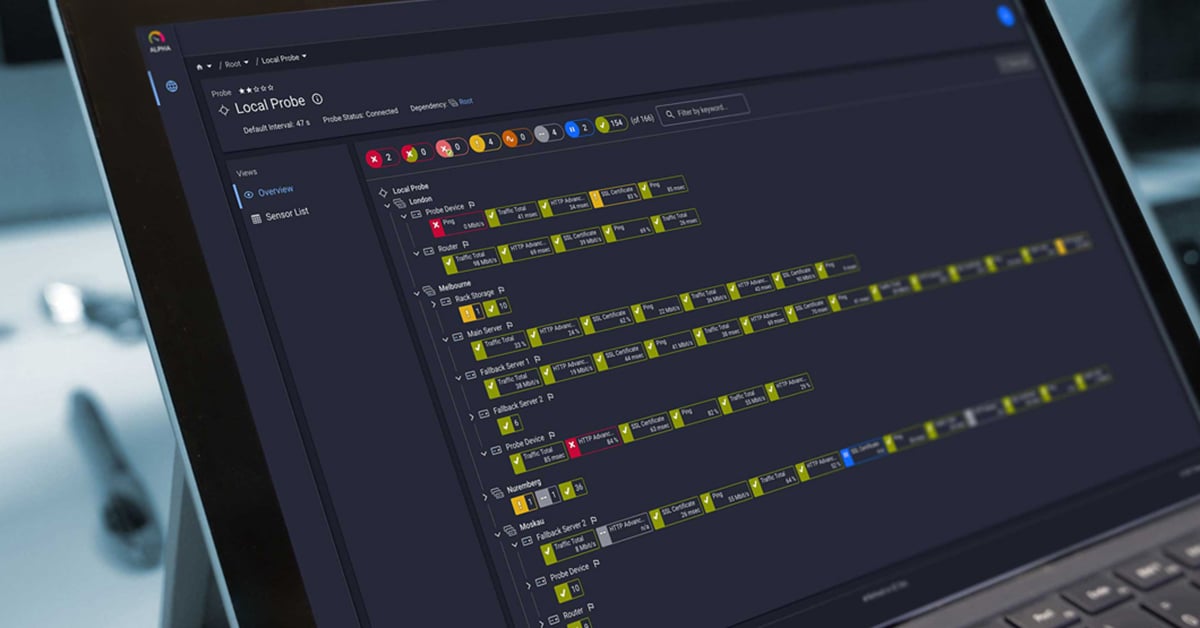
In my recent blog article, I talked about using native PRTG sensors to monitor the status of logical and physical disks on a Synology NAS. If you missed it, you can read it here, 'Key metrics to monitor a Synology NAS with Paessler PRTG'. These sensors only monitor the disk status, not the actual disk usage.
To extend the disk usage monitoring, I want to introduce two additional sensors that are SNMP-based, vendor-neutral, and applicable to Synology NAS.
Let's talk about the SNMP Disk Free and SNMP Linux Physical Disk sensors. Both sensors support IPv4 and IPv6 and have a low performance impact on the PRTG core server.
To demonstrate these two sensors, I will use the Synology DS923+, a flexible storage platform for small businesses. It offers read/write speeds of up to 592/562 MB/s, along with support for network speeds up to 10 GbE and NVMe SSD slots. You can add up to 4 bays, scaling up to 60TB.
Synology DiskStation® DS923+
Prerequisites
First, you need to enable SNMP on your Synology NAS and then add it as a device in PRTG. I have already covered how to do this in steps 1 and 2 of my last article.
SNMP Disk Free
The SNMP Disk Free sensor monitors the free disk space on the logical disk via SNMP (Simple Network Management Protocol). It monitors free disk space in bytes and percentage, and also tracks the total available space of the logical disk. The sensor's Free Space channel also has predefined limits, i.e. the sensor enters the Warning status when 25% of the disk space is left and the Down status when only 10% is left. You can customize these limits to suit your needs.
When you add a sensor to your Synology NAS in PRTG, the meta-scan will discover all available logical disks. For each selected disk, PRTG creates a sensor.
Step 1 of 2: Creating an SNMP Disk Free sensor
This is an example of the sensor for one of the selected logical disks. As shown, this sensor monitors the free disk space as a percentage and in bytes. It also shows the total available space in bytes. You can also change the name of the sensor in the sensor settings by replacing the default name, in our case '/dev/shm', with something more meaningful. The names of the sensors differ based on the available logical disks in your system.
SNMP Disk Free sensor on Synology NAS
SNMP Linux Physical Disk
The SNMP Linux Physical Disk sensor monitors I/O on physical disks of a Linux system via SNMP. Since the Synology DSM operating system is based on GNU/Linux, the SNMP Linux Physical Disk sensor can be used to obtain its metrics.
When you add a sensor to your Synology NAS in PRTG, the meta-scan will discover all available physical disks. For each selected disk, PRTG creates a sensor.
Step 1 of 2: Creating an SNMP Linux physical sensor
This is an example of the sensor for one of the selected physical disks. It shows the number of bytes read and written, the load averages for 1, 5, and 15 minutes, as well as the number of read and write accesses per second. You can change the name of the sensor in the sensor settings. The names of the sensors differ based on the available physical disks on your system.
SNMP Linux Physical Disk on Synology NAS
Wrap up
PRTG provides four native sensors to monitor the health and disk usage of Synology NAS devices. In addition to monitoring the status of logical and physical disks, as covered in the article 'Key metrics to monitor a Synology NAS using Paessler PRTG', you can also check the actual disk usage using the SNMP Disk Free sensor and I/O operations using the SNMP Linux Physical Free Disk sensor.
I have explained both sensors and the metrics they provide in this article.
How do you monitor your disk drives on Synology NAS?
.jpg) Published by
Published by 