 Published by Sascha Neumeier
Last updated on April 15, 2026
•
5 minute read
Did you ever ask yourself what are possible tasks for PRTG Network Monitor beyond using predefined sensors? PRTG is famous for its self-explaining web interface and its intuitive handling. So, you can perform most of your tasks without taking your hands off the mouse. Moreover, PRTG offers a wide variety of additional capabilities to monitor network related stuff. One thing we will have a closer look today is using the command line interface.
If you plan to automate regular tasks or setting up workflows, using the CLI can make your work much easier. Let’s consider a use case our IT department set up to ease their daily business. The requirement was to monitor the traffic between the corporate network and the Office 365 environment in the cloud.
For that reason, Microsoft provides their Office 365 endpoint IP addresses in an XML file. These files are updated at the end of each month, except for emergency changes. See Microsoft Office 365 Support for further details.
Keeping the possible changes of affected IP-ranges for a cloud-service to filter out this traffic accordingly is not possible with an out-of-the-box sensor. However, in this case Windows PowerShell helps meet the stated requirement.
Let’s deep-dive into Windows PowerShell and see how to script the tasks and embed it into PRTG to get an automatic cloud application traffic monitoring. Don’t worry, we provide the script for Download at the end of this article, so you can set up and adjust the task in your own PRTG environment.
Prepare Your Appliance and Add Necessary Sensors
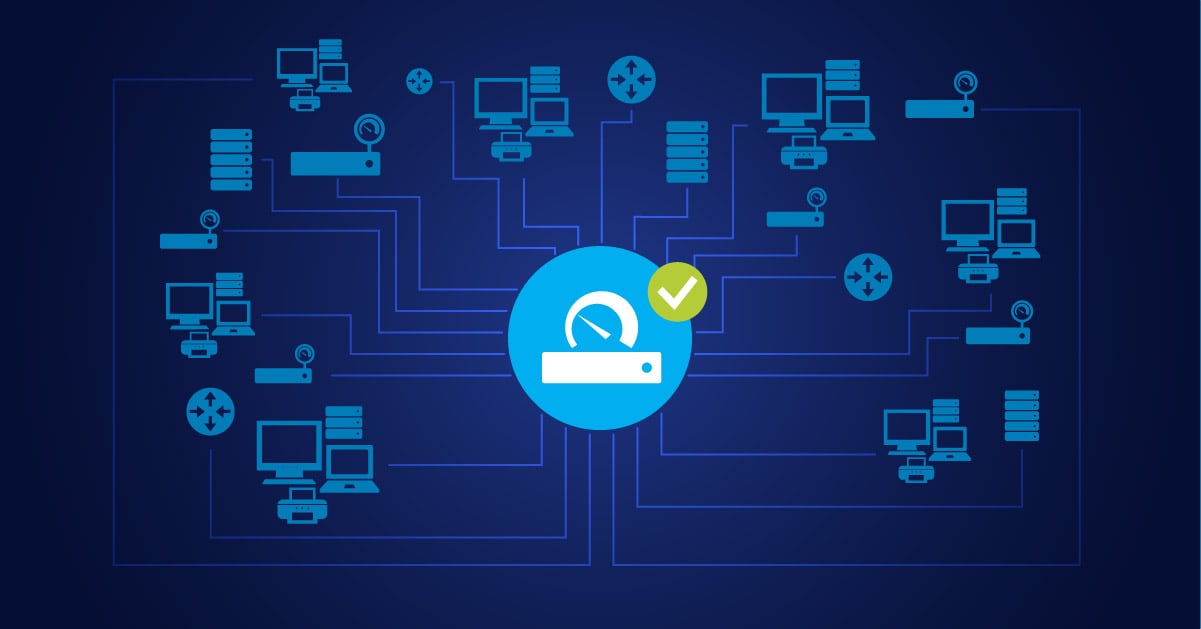
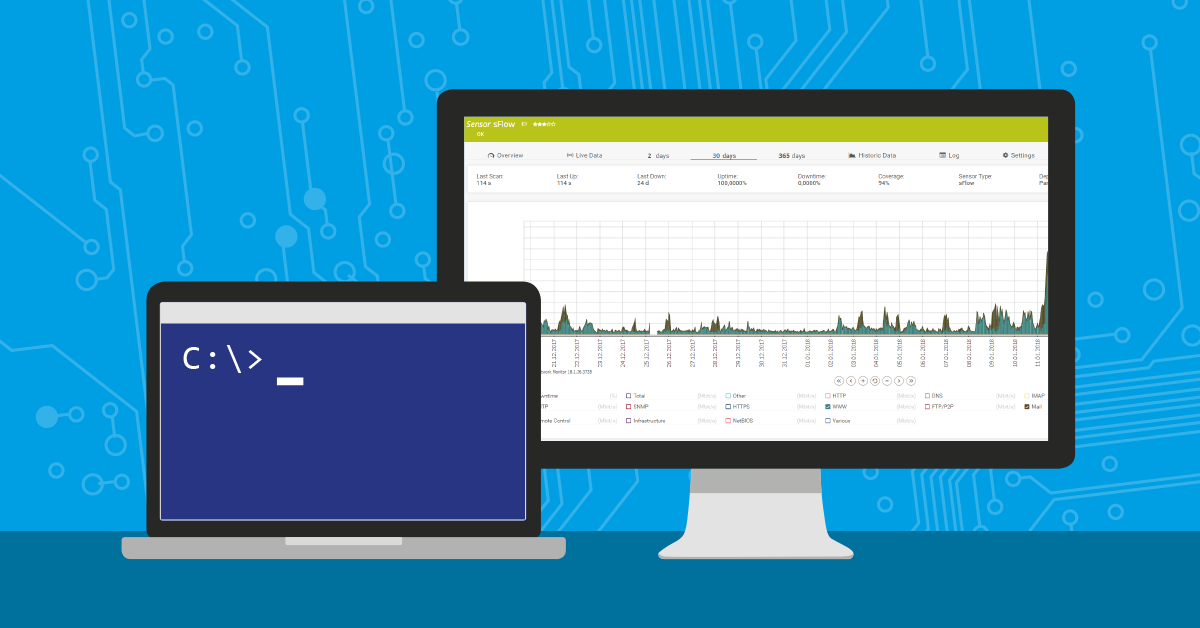
Starting with the pre-requirement, you need to activate flow on your network equipment (firewall, switch, everything that may send flow-data). Depending on which devices you use this can be NetFlow, sFlow, JFlow or one of several other flow formats. Choose a decent scanning interval, either 60 seconds or 5 minutes, whatever you prefer. After flow is up and running on your appliance, you add a flow sensor to your device in PRTG. The flow sensor starts to collect data and soon you see what your Top Talkers, Top Connections and Top Protocols are.
 By now, you get traffic information from all IP sources (what is quite unmanageable). To tighten things down we need to set and adjust IP filters.
Set Filters for Application Traffic Monitoring and Keep the Filter Up to Date
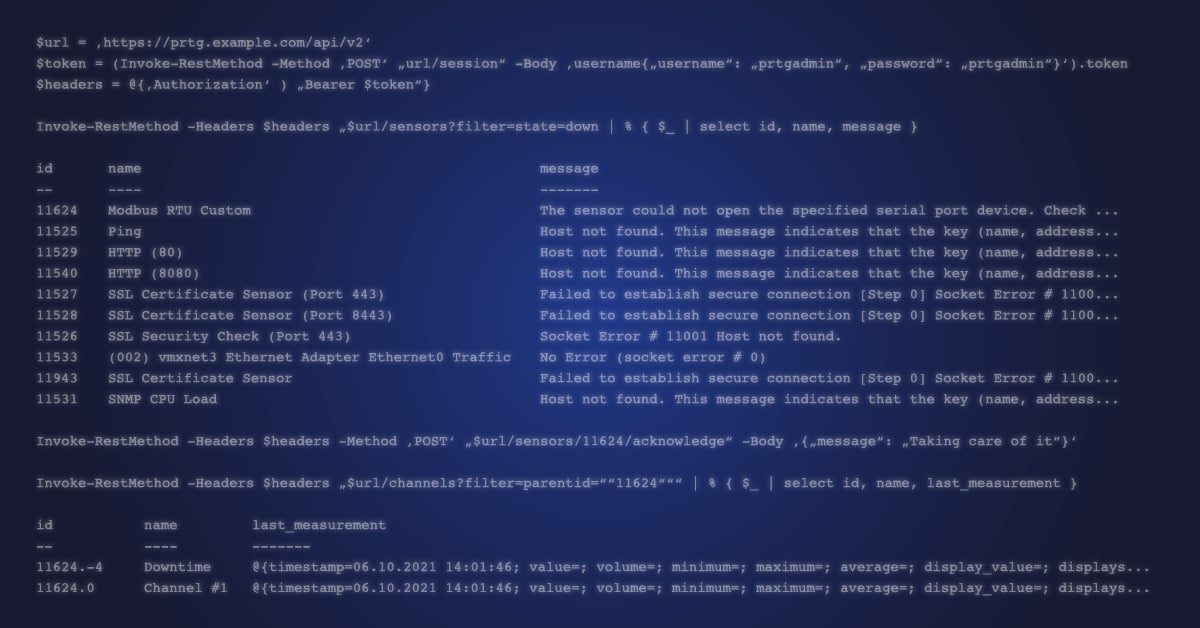
Next, add another sensor to your device, choose an EXE/Script Advanced sensor now. This sensor contains the PowerShell Script with additional parameters. We named it ‘Update O365 IP addresses’. The script filters a Microsoft XML file containing all Office 365 IP addresses for the desired product whose traffic is to be monitored and writes the result to the ‘Include Filter’ field of your flow sensor.
Script Parameters
[string]$O365Url = 'https://support.content.office.net/en-us/static/O365IPAddresses.xml',
[string]$O365Product = 'EXO',
[string]$IPFilter = 'IPv4'
For example, ‘EXO’ is for Exchange Online, ‘SPO’ is for Sharepoint Online, ‘ProPlus’ is for the Business Office365 Professional Plus Suite. Refer to Microsoft Community for the complete product name assignments.
Needed Sensor Parameters
Fill in the following sensor Parameters:
-PRTGServer '<FQDN-of-your-PRTG-server>' -PRTGSensorID <numeric-PRTG-sensor-ID> -PRTGUserName '<username>' -PRTGPassHash '<password>'
Scanning interval of this sensor can be set to 24 hours as it is sufficient to update the IP filter list once a day. That’s it – now the flow sensor updates the needed ‘Include Filter’ parameter regularly and can collect the requested traffic data between internal network and O365 environment.


Conclusion and Prospect
Well that was kind of an easy use case to see what is possible with PRTG and CLI. Your options are nearly unlimited. You want to check how many Windows users are logged onto your network? Use CLI and create a PowerShell script! It would be cool to read database content and display it on a PRTG map? Use CLI and write down an SQL statement. Even if scripting is not your favorite activity, there are plenty of useful scripts available for download in the web!
We Need Your Feedback!
Do you think CLI content on our blog is helpful for you? Do you want to read more stuff like this in the future? Should we introduce our PRTG API and its capabilities in more detail? Or is it way too technical and of no further interest? Leave us your comments below and let’s discuss!
Get the Script!
As mentioned above you find the complete script here: