.jpg) Published by Jasmin Kahriman
Published by Jasmin Kahriman
Last updated on July 10, 2026
•
8 minute read
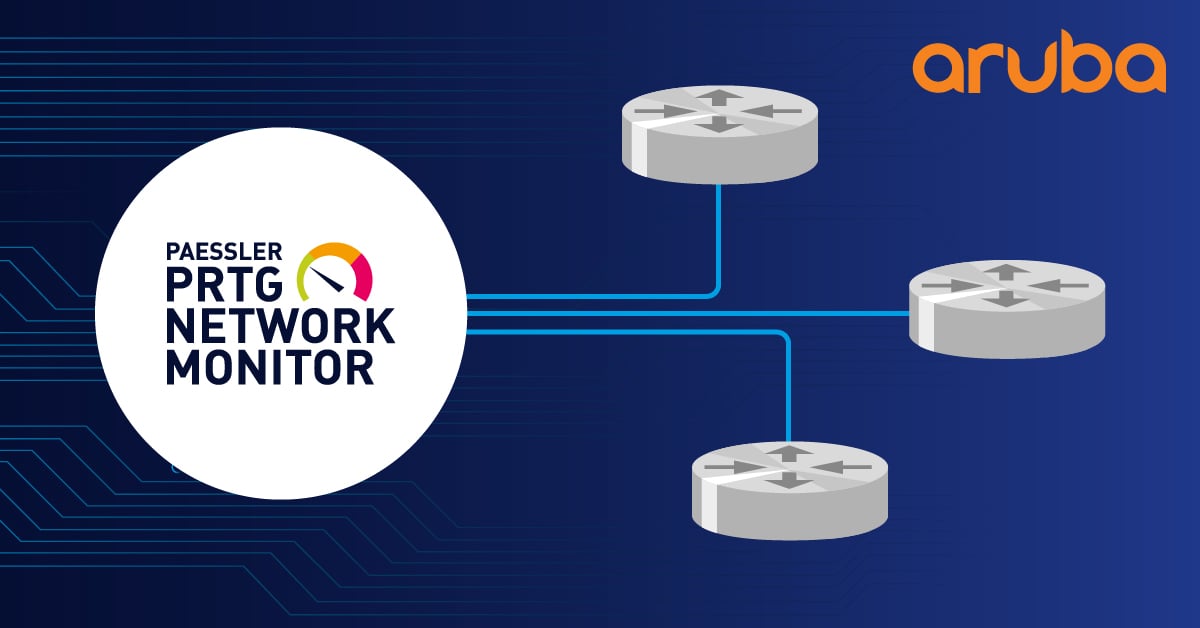
There are two ways of monitoring your network traffic. SNMP Traffic sensor will show you incoming, outgoing, and total amount of traffic, but if you want to identify the major sources of traffic and eliminate bottlenecks, you should be using PRTG's flow sensors. This comprehensive guide focuses on Aruba sFlow monitoring and shows you how to configure sFlow via CLI and add a native sFlow sensor to PRTG.
Aruba sFlow monitoring provides comprehensive network visibility for HPE Aruba switches, enabling IT administrators to identify traffic bottlenecks, analyze bandwidth consumption, and optimize network performance. This guide covers complete Aruba sFlow configuration from CLI setup to PRTG sensor implementation.

What is Aruba sFlow?
Aruba sFlow (short for "sampled flow") is a powerful sampling technology for network monitoring that was originally developed by InMon and HP. This technology is specifically optimized for HP Aruba switches and provides efficient network traffic analysis. InMon later open-sourced sFlow to ensure it could be used across networks based on multiple vendors' switches such as Huawei, MikroTik, Arista, Allied Telesis, and many others.
The sFlow sensor receives traffic data from an sFlow v5-compatible device and shows the traffic by type. Because PRTG fully supports sFlow Version 5 (the most common version), switches and routers supplying data via sFlow can be monitored with a great deal of ease.
PRTG provides multiple options to process and display bandwidth consumption data from your Aruba switches. sFlow technology puts little strain on the CPU load and data line, and allows for the collection of detailed data. As part of monitoring, you can read or export graphs that show bandwidth metrics (live data, 2 days, 30 days, 365 days).
 Network graph available within sFlow sensor
Why Choose Aruba sFlow for Network Monitoring?
Aruba sFlow offers several advantages for HP switch monitoring:
- Low CPU Impact: sFlow sampling minimizes performance impact on Aruba switches
- Scalable Monitoring: Supports monitoring across large Aruba switch deployments
- Real-time Analysis: Provides immediate visibility into network traffic patterns
- VLAN Support: Monitor traffic across different VLANs on Aruba switches
- Flexible Sampling: Configurable sampling rates to balance detail with performance
- Multi-vendor Support: Works across diverse network infrastructures
Step 1: Configure Aruba sFlow on HP Switch via CLI
You must first enable sFlow v5 export on the HP Aruba switch for this sensor to work. The switch must send the flow data stream to the IP address of the probe system that has this sensor (either a local probe or a remote probe). Please note that the configuration of your HP switch might differ depending on the switch model you have, so please check the official HP documentation.
SSH Connection Setup
Open PuTTY, add your HPE Aruba switch IP/port, choose SSH and click Open to connect to switch. You need to include credentials to access your switch.
Connect to your switch using SSH
CLI Configuration Commands
Type the following sFlow commands to enable and configure sFlow instances via the CLI. You need first to enter configuration mode, and then enable and configure sFlow:
#config
#sFlow 1 destination <PRTG Probe IP> <port number>
#sFlow 1 polling 1-28 20
#sFlow 1 sampling all 1-28 100
#write memory
AOS-CX Compatibility Note
For newer Aruba AOS-CX switches (10.07+), use the updated sFlow commands that differ from legacy ProCurve syntax. Consult the AOS-CX Command-Line Reference Guide for your specific firmware version.
Ready to start monitoring your Aruba switches? Download PRTG Free Trial and configure sFlow monitoring in minutes.
Step 2: Add PRTG sFlow Sensor for Aruba Monitoring
Once you have enabled sFlow export on your HP Aruba switch, you need to add an sFlow sensor to PRTG. This sensor will receive and process the sFlow data stream from your Aruba infrastructure.
Technical Requirements
PRTG's sFlow sensor supports sFlow v5 with the following specifications:
- UDP Port: Default port 6343 (configurable)
- IP Support: IPv4 only
- Performance Impact: High - maximum 50 sensors per probe recommended
- Formats Supported: Raw packet header, Flow sample, and Extended flow formats
- Limitations: TCP and UDP packets only, Ethernet type "IP" with optional VLAN tags
Sensor Configuration Steps
- Add New Sensor: Navigate to your probe and add a new sFlow v5 sensor
- Configure UDP Port: Set to 6343 (default) or your custom port
- Set Sender IP: Enter your Aruba switch IP address
- Select Listening IPs: Choose which PRTG probe IPs should receive sFlow data
- Set Flow Timeout: Configure active flow timeout (recommended: device timeout + 1 minute)
Important Sensor Limitations
The sFlow sensor has several critical limitations you must consider:
- Only supports sFlow v5 datagrams
- IPv4 flows only
- Only supports "raw packet header" format
- Only supports "Flow sample" and "Extended flow" formats (cannot process "Counter" formats)
- Only processes samples where source ID matches ifIndex of input interface (avoiding double-counted traffic)
- Requires ascending sequence numbers to avoid double-counted traffic
- Only supports sample packets of Ethernet type "IP" with optional VLAN tags
- Only supports sampled packets of types TCP and UDP
- Cannot be used on hosted probes (requires local or remote probes)
- Maximum 50 sensors per probe due to very high performance impact
Troubleshooting Common Aruba sFlow Issues
VLAN Traffic Monitoring
PRTG's sFlow (Custom) sensor allows you to define custom channel definitions to divide traffic into different channels. With careful configuration, this can include VLAN-based traffic monitoring. The Custom sensor allows you to:
- Define up to 50 custom channels (officially supported limit)
- Create specific traffic classifications
- Monitor targeted network segments
- Build custom reporting based on your channel definitions
Note: The sFlow (Custom) sensor does not officially support more than 50 channels.
Debugging sFlow Issues
Paessler recommends using our free sFlow Tester tool for debugging sFlow configurations. Use this tool to:
- Verify sFlow packets are being received
- Check packet format compatibility
- Test network connectivity between switch and probe
- Debug flow export issues before setting up PRTG sensors
PRTG vs Other sFlow Monitoring Solutions for Aruba
Native sFlow v5 Support
PRTG Network Monitor provides full compatibility with HP Aruba switch implementations, supporting all standard sFlow v5 features without additional configuration or plugins.
Custom Channel Configuration
Define specific monitoring channels for Aruba VLAN traffic, allowing granular visibility into your network segments that many competitors cannot match.
Integrated Aruba Monitoring
Combine sFlow traffic analysis with SNMP monitoring for complete Aruba switch visibility, including:
- Hardware health monitoring
- Port utilization tracking
- CPU and memory usage
- Environmental sensors
- Power consumption metrics
Advanced sFlow Configuration Options
Sampling Rate Optimization
Adjust sampling rates based on your network traffic volume:
- High Traffic Networks: Use higher sampling rates (1:1000 or more)
- Low Traffic Networks: Use lower sampling rates (1:100) for more detail
- Mixed Environments: Configure different rates per interface
Stream Data Handling
Configure how PRTG processes sFlow stream data:
- Discard stream data (default): Optimal for production monitoring
- Store stream data for 'Other' channel: Useful for debugging unclassified traffic
- Store all stream data: Only for troubleshooting (creates large files)
Network Visualization and Reporting
With the PRTG Map Designer feature, you can create custom web pages as maps, or dashboards, that represent your network. You can add the primary toplist of a sensor by navigating to Graphs > Primary toplist of a sensor.
Recommended Additional Monitoring
For complete Aruba switch monitoring, we recommend monitoring all other relevant metrics:
- Ping time and availability
- System uptime
- CPU load and utilization
- Free RAM and memory usage
- Hardware health status
- Port-specific SNMP traffic sensors
- Environmental conditions (temperature, fans)

Getting Started with Aruba sFlow Monitoring
Aruba sFlow monitoring with PRTG provides unparalleled visibility into your network traffic patterns. The combination of efficient sampling technology and comprehensive analysis capabilities makes it the ideal solution for monitoring HP Aruba switch infrastructures.
Experience powerful Aruba sFlow monitoring firsthand. Start Your Free PRTG Trial and discover comprehensive network visibility for your HP Aruba infrastructure.
Are you running HP or any other sFlow capable device in your network? Share your experiences and questions in the comments below, or contact our technical support team for personalized assistance with your Aruba sFlow implementation.