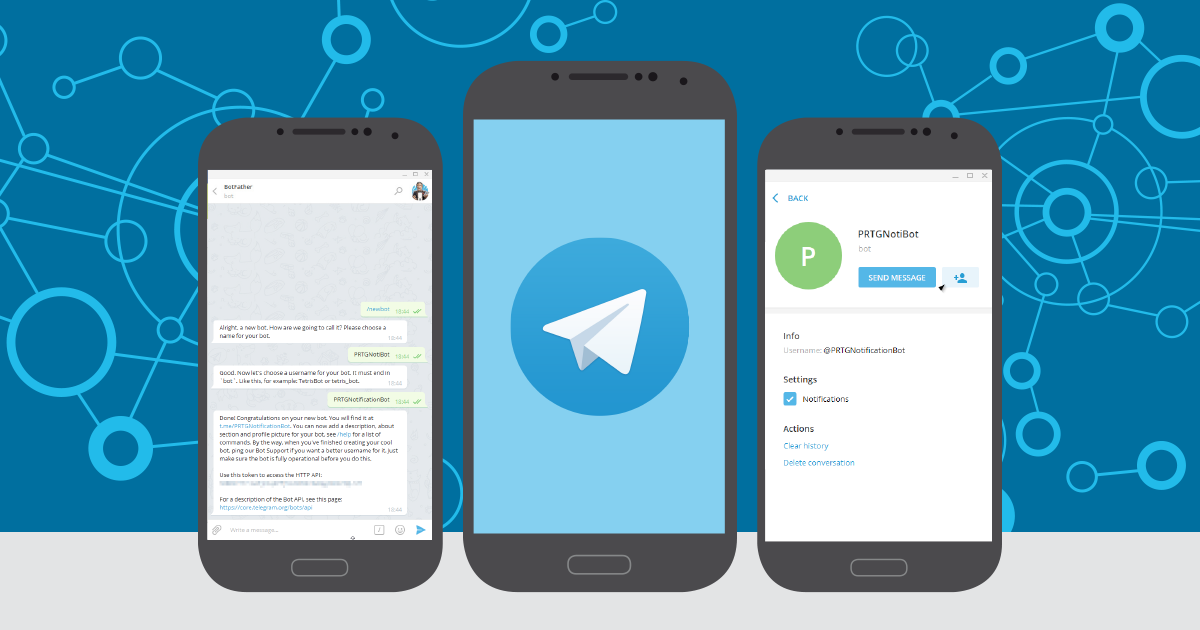
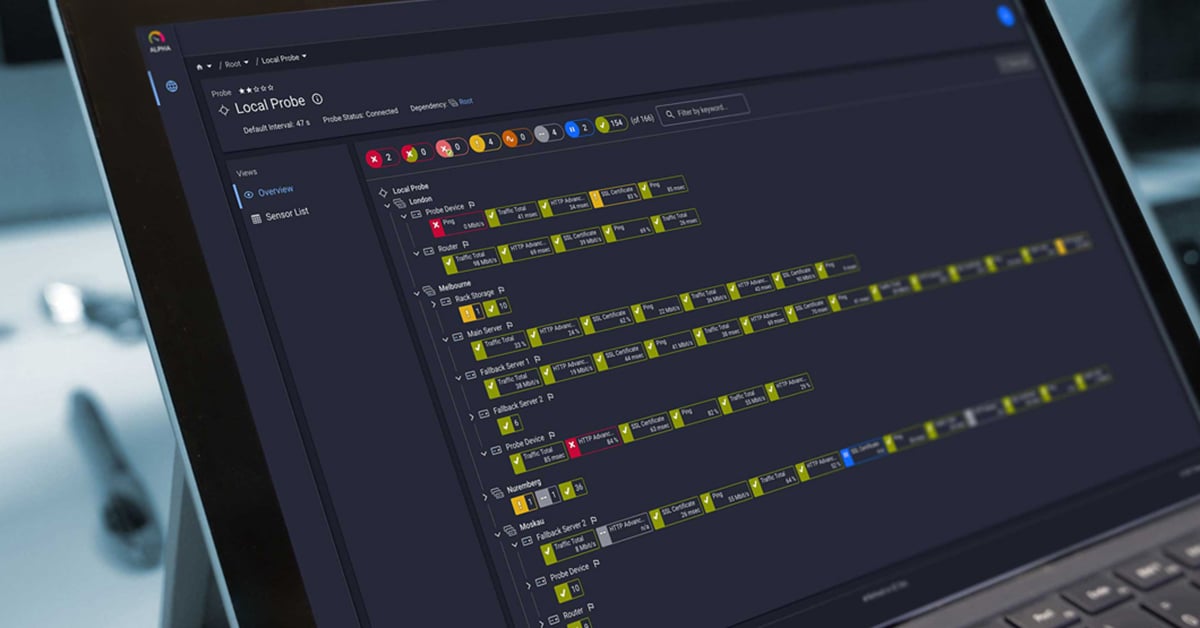
Paessler PRTG Network Monitor already features extensive notification functionality: sending email, SMS, SMTP alerts, executing commands, calling URLs, SNMP traps, and many more. With a Telegram bot integration, system administrator teams gain another powerful option for notification delivery. You can send PRTG alert messages to a Telegram bot that will output them in a group chat with all your fellow administrator colleagues.
While the Telegram bot API offers an amazing functionality that allows you to build your own chat-based PRTG app, we'll only cover sending basic push notifications. Tinkering with the API for advanced network monitoring features requires some programming knowledge and will take some time.
Prerequisites for PRTG Telegram Integration
Before you start this step-by-step configuration, make sure you have the following requirements in place:
- Telegram account with mobile app installed on your device
- A group chat where you can invite bots (or create one for monitoring alerts)
- PRTG server with outbound HTTPS access to https://api.telegram.org/
- Administrative access to your PRTG notification settings notification template configuration
Step 1: Creating Your Telegram Bot
First we need to create the Telegram bot with the help of "The BotFather":
- Start a new chat with "Botfather" in Telegram
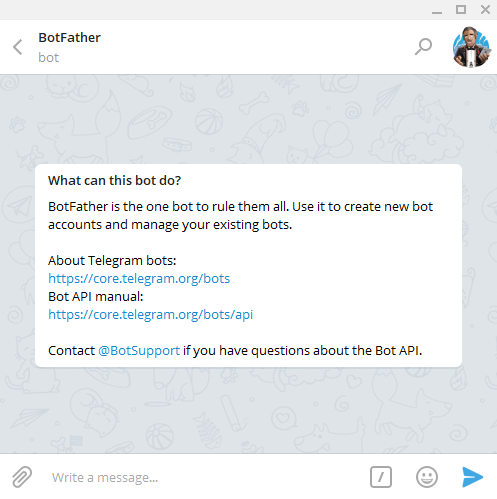
Chat with BotFather
- With /newbot, you can start the bot creation, BodFather will guide you through it.
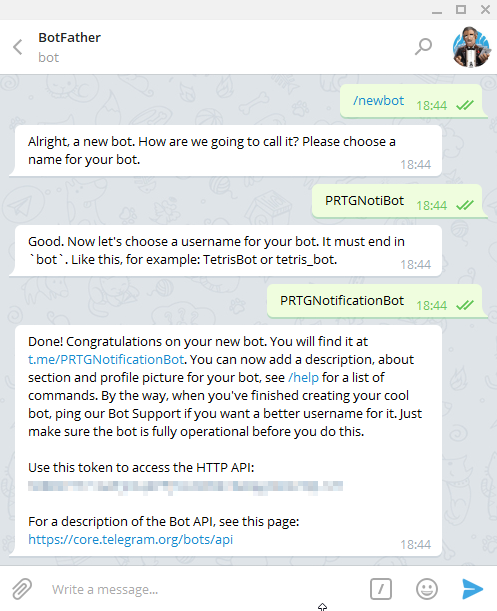
Bot configuration
- You'll receive an API key for your bot – we'll need that for later when we execute HTTP action requests
- By default, your bot can be invited to all groups requested. Also it will be able to read all messages sent to the channel. Use /setprivacy and /setjoingroups to configure this accordingly when everything is up and running
- In the bot's profile, you can add it to the group you want PRTG notifications via Telegram to be sent to
Configuring Bot Privacy Settings
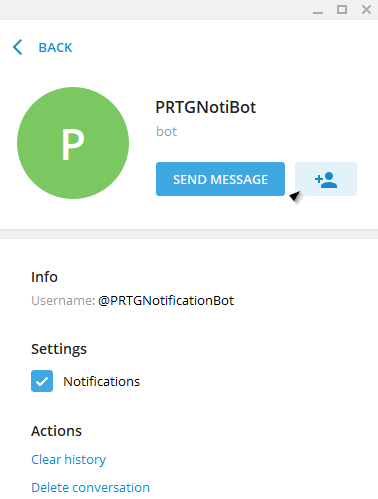
The bot's profile
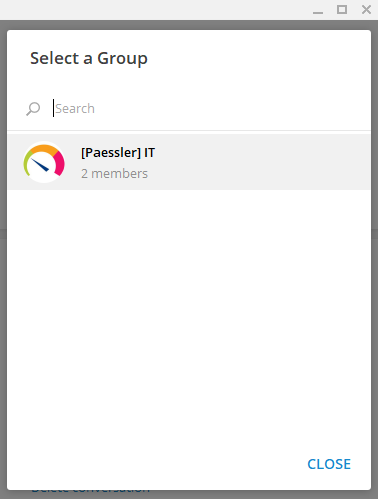
The bot's profile
- Within the group chat, type /start to activate the bot.
- Now is the time to configure privacy and group joining as mentioned earlier, via /setprivacy and /setjoingroups.
Well, that covers creating the Telegram bot. Quite some work so far, but we're not done yet.
Step 2: Configuring PRTG HTTP Notifications
This is where the API key from step one comes into play. Open up the following URL within your browser:
https://api.telegram.org/bot<apikey>/getMe
The result should look something like this:
{
  "ok": true,
  "result": {
    "id": 1234567890,
    "first_name": "PRTGNotiBot",
    "username": "PRTGNotificationBot"
  }
}
If you get any errors here, make sure that the URL and API key are correct. Now, open the same URL, but with getUpdates instead of getMe. You'll receive an overview of the chats the bot is added to. It will look like the following:
{
  "ok": true,
  "result": [{
    "update_id": 521075218,
    "message": {
      "message_id": 3,
      "from": {
        "id": 11512298,
        "first_name": "xxxxxxxxx",
        "last_name": "xxxxxxxxx",
        "username": "xxxxxxxxx"
      },
      "chat": {
        "id": -12345690,
        "title": "[Paessler] IT",
        "type": "group",
        "all_members_are_administrators": true
      },
      "date": 1493834122,
      "text": "/start",
      "entities": [{
        "type": "bot_command",
        "offset": 0,
        "length": 6
      }]
    }
  }]
}
We'll need the chat ID (in our example it's "-12345690"), including the leading "–" sign. Now we're ready to create the PRTG notifications. Create a new HTTP notification template and use the following parameters.
Notification Template Examples
URL:
https://api.telegram.org/bot<your-api-key>/sendMessage
PostData payload:
chat_id=-<your-chat-id>&text=
There's a *%status* sensor in your PRTG!
[%sensor](%linksensor)

*Last Message* %lastmessage
*Down since* %since
*Device* %device
*Group* %group&parse_mode=Markdown
If you also want a corresponding up notification for your specific sensor, create another notification template with the same URL and this PostData:
chat_id=-196449333&text=
Phew! Looks like [%sensor](%linksensor) is *%status* again!&parse_mode=Markdown
Of course, you can alter the text to your liking. The payload supports UTF-8 encoding for special characters. Markdown options for Telegram messages can be found under: https://core.telegram.org/bots/api#formatting-options.
The test notification should look like this:

Test notification
Actual PRTG alert notifications will look like this:
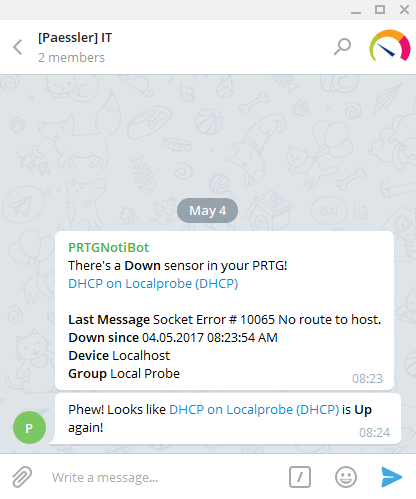
This is what the notifications look like
Step 3: Implementing and Testing Your Setup
⚠️ Final Step: Add your new Telegram notification to the appropriate Groups, Devices, or Sensors in your PRTG device tree. Start with non-critical sensors to test notification delivery before applying to production systems like routers or critical network monitoring infrastructure.
Quick Testing
Use your PRTG notification test functionality to verify your configuration:
- Go to Setup > Account Settings > Notification Templates
- Click the test button next to your Telegram notification
- Check your Telegram group for the test message
Troubleshooting Common Issues
- 401 Unauthorized: Double-check your bot API key
- 400 Bad Request: Verify the chat ID includes the minus sign for group chats
- No messages received: Ensure the bot was added to the group and /start was executed
Advanced Configuration
For more complex network monitoring or notification scenarios, use the PRTG HTTP Push Data sensor for bidirectional communication between Telegram and PRTG.
Do you now feel ready to implement this across your monitoring infrastructure? Consider grouping related sensors to avoid notification spam, and use our PRTG notification trigger functionality to control when alerts fire.
If you want to dive even deeper into comprehensive network monitoring with instant mobile alerts, try PRTG free for 30 days with up to 100 sensors.
About the author
Stephan is part of the Paessler technical support team. He's one of our most experienced and ambitious scripters, having created many tools and scripts for us and our customers.
 Published by